

Master the Basics for Using ZIP System® Sheathing and Tape
4 Min Read April 12, 2018
Because of their ability to provide higher quality and limit time on the job, revolutionary building products and practices are calling to design and build teams. More crews are switching from traditional sheathing and housewrap to ZIP System® sheathing and tape, and they’re learning to master new — but not-so-difficult — seam sealing and transitional details along the way.
To obtain the best structural, weather and air leakage protection out of ZIP System sheathing and tape, follow these installation tips from our manager of product engineering, Chris Clark.
1. Fool-Proof Fastening
Two common mistakes people make when it comes to fastening sheathing panels are shiners and overdriven fasteners. When fasteners are countersunk into sheathing, the head is not flush with the panel surface, or water-resistant member in the case of ZIP System sheathing. This can cause a disruption in the surface area where tape is applied at the panel seams. To ensure a tight seal with ZIP System™ tape, keep the nails flush so the tape has a smooth surface to create a continuous, strong bond for locking out water and air.
Overdriven fasteners can happen because of inconsistency in the pressure used in nail guns. An easy fix is to install a “flush-mount” attachment or “collar” on the end of the gun. This adapter helps provide more consistent control over the distance between the nail and the panel surface. Another option is to lower the pressure on the nail gun or install an in-line pressure regulator.
Shiners present a different risk. Missing too many studs with any structural panel reduces composite action — or, the combined strength of the frame and panels — and reduces the strength of the exterior. Plus, other subcontractors working inside the building can exacerbate problems, which could mean bigger penetrations and possible paths for water. To maintain the integrity of the built-in water-resistive membrane on ZIP System panels, drive shiners back out and seal them with ZIP System tape outside or ZIP System™ liquid flash inside.
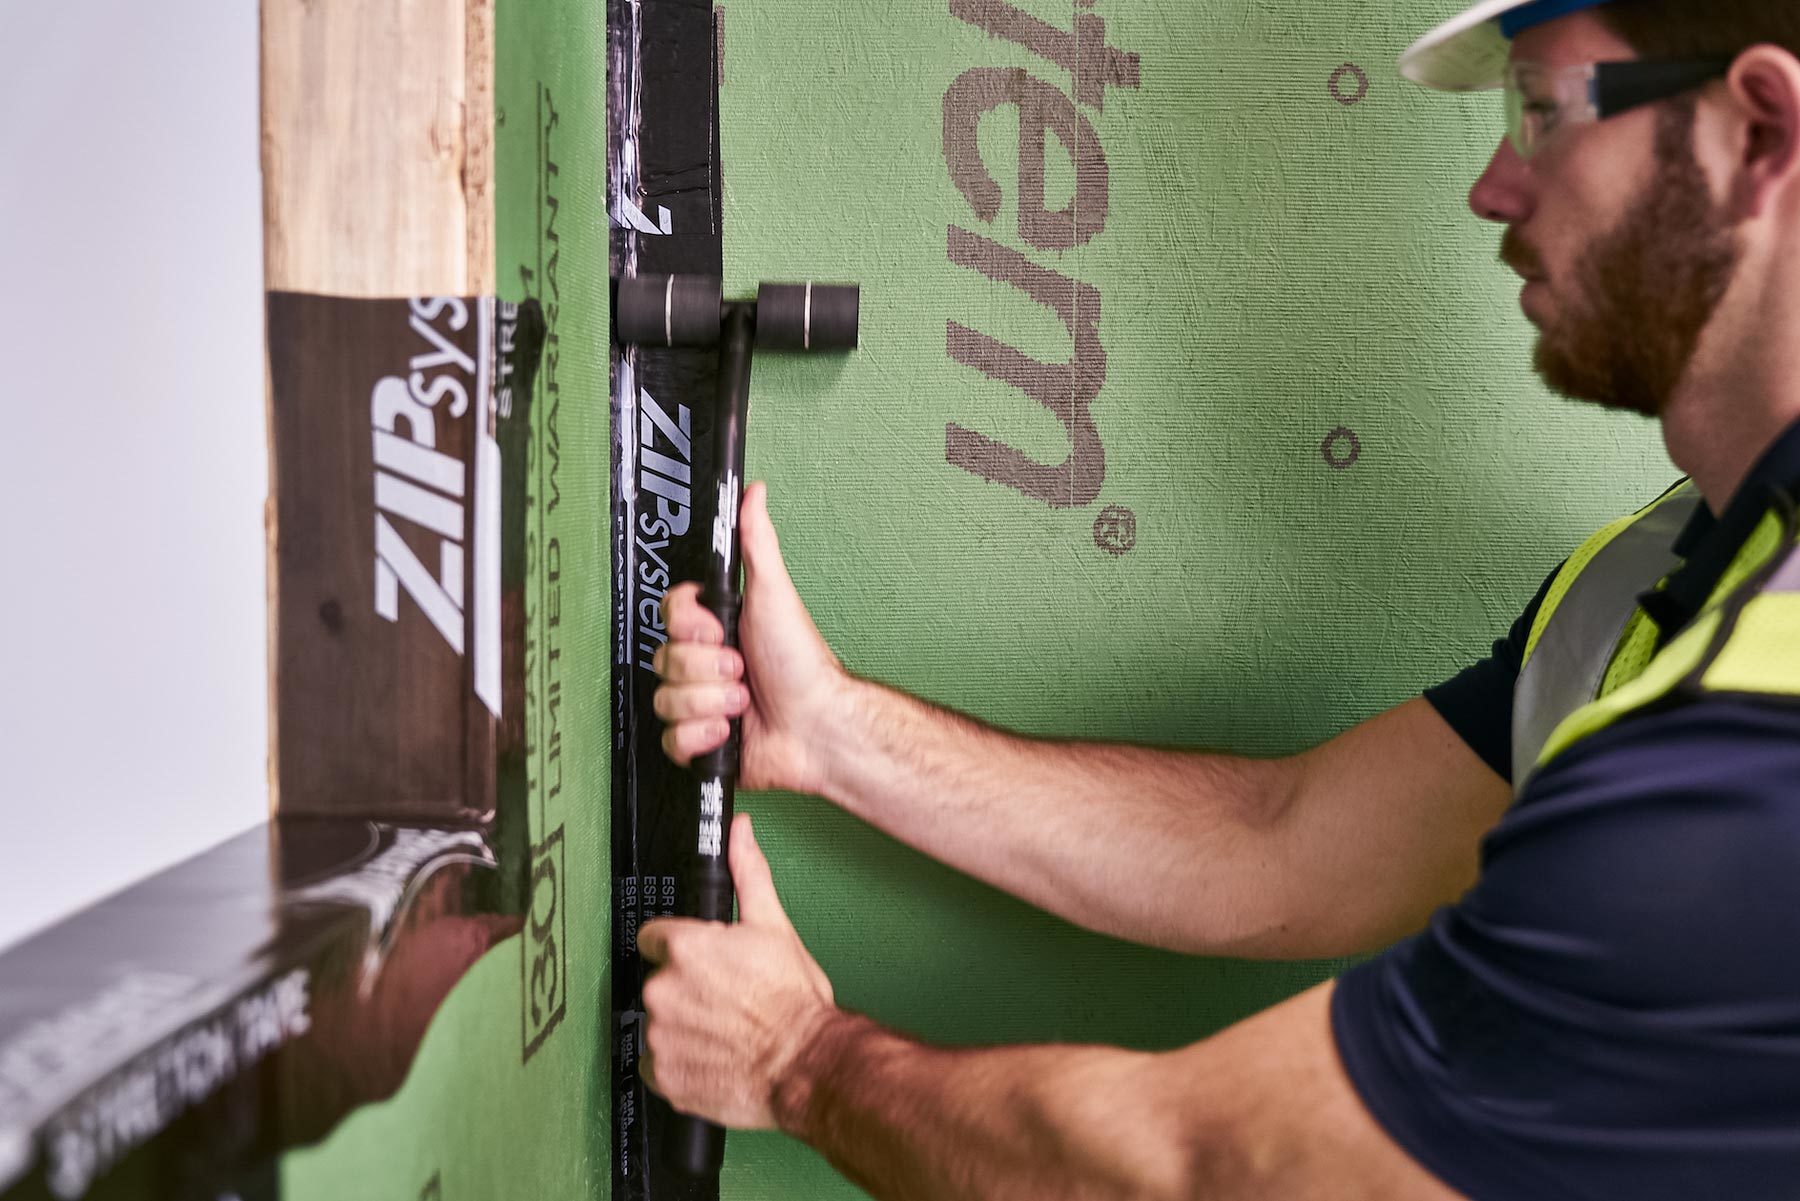
2. Just Roll With It
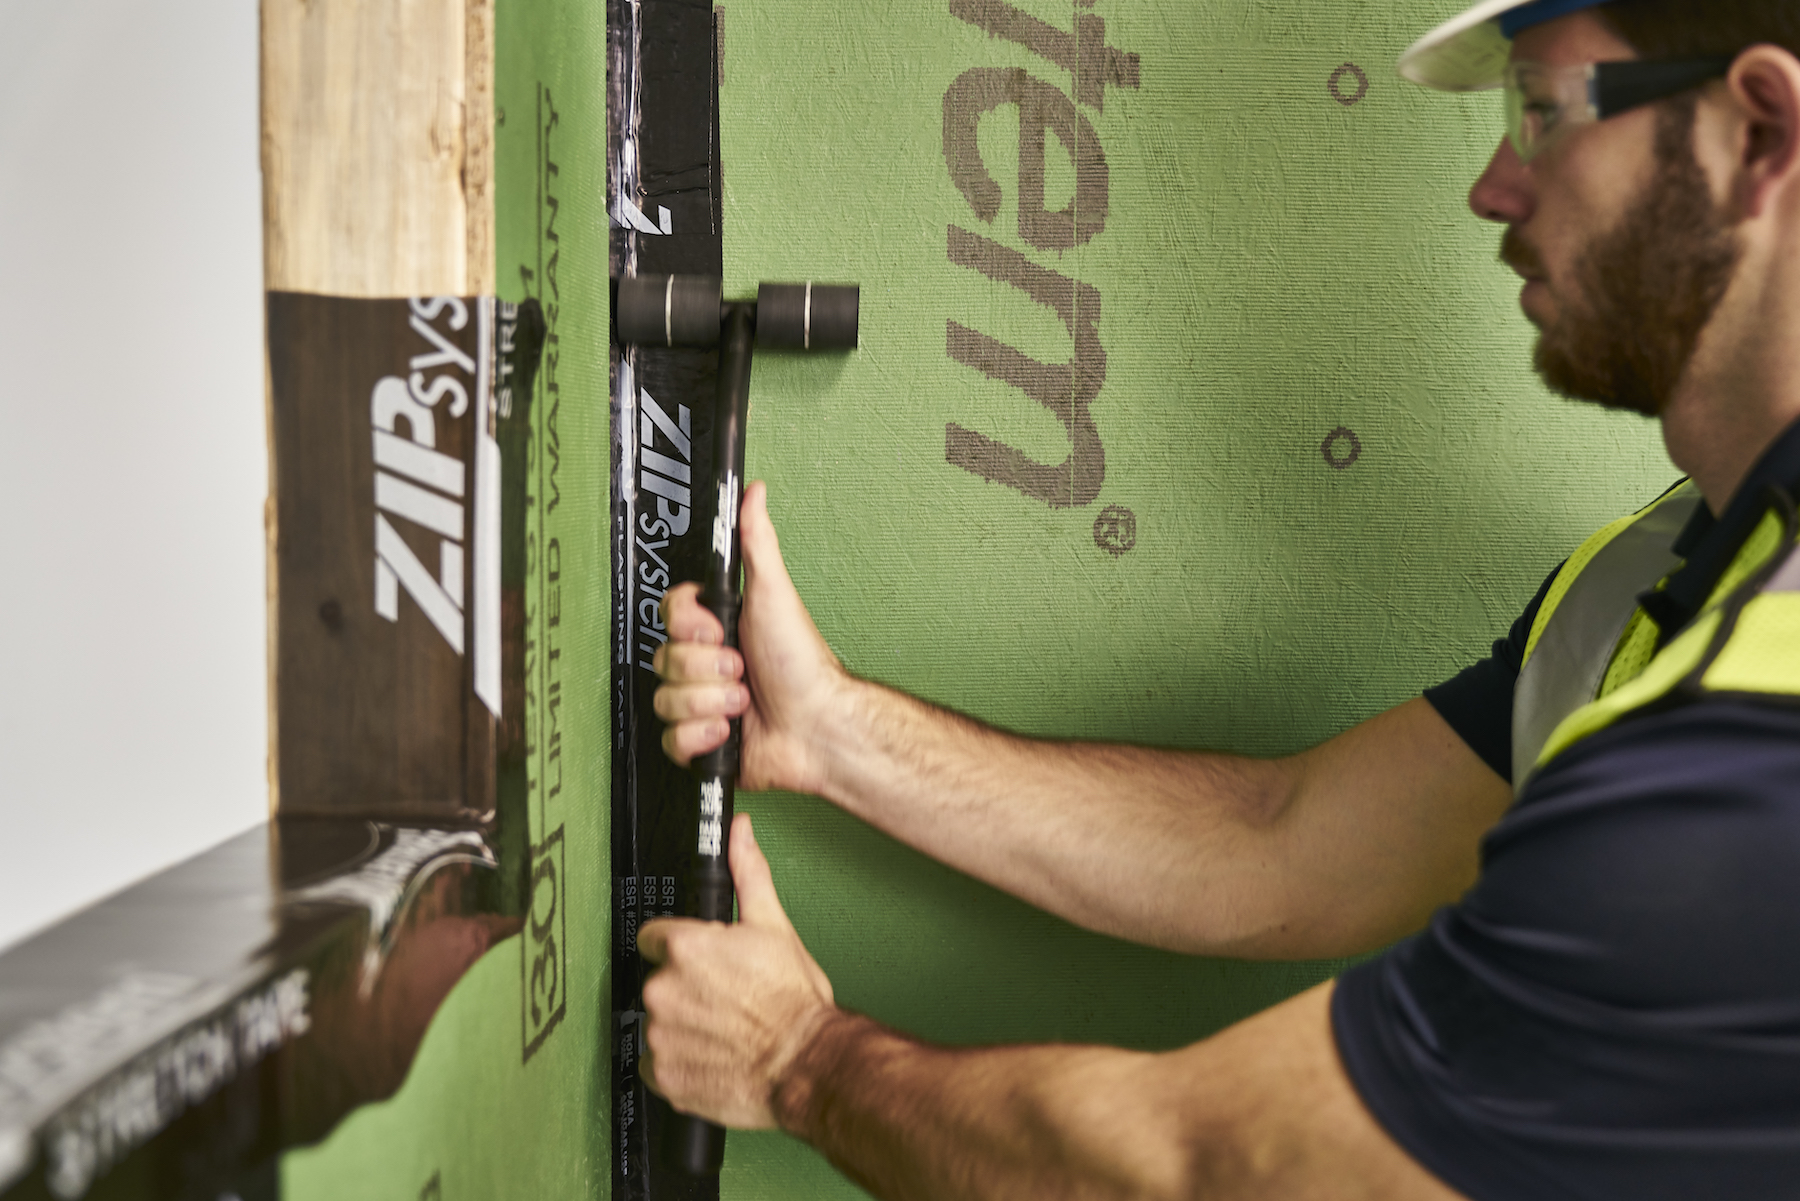
Properly taping panel seams is one of the most important steps to getting the best performance out of the system. ZIP System tape is an advanced acrylic pressure-activated tape, so using a tape roller is the best way to achieve the strongest bond. When the proper pressure is applied, the ZIP System tape roller will leave an impression on the tape to let you know the adhesive bond has been activated.
It's best to work in small sections, peeling the backer from the tape as you move down or across the seam in order to keep the tape from wrinkling during application. If wrinkles or fish mouths occur, pay special attention when rolling those areas. In severe cases, you may need to cut away a section and re-tape the seam to ensure the water and air are kept out.
3. Flashing Curve Balls
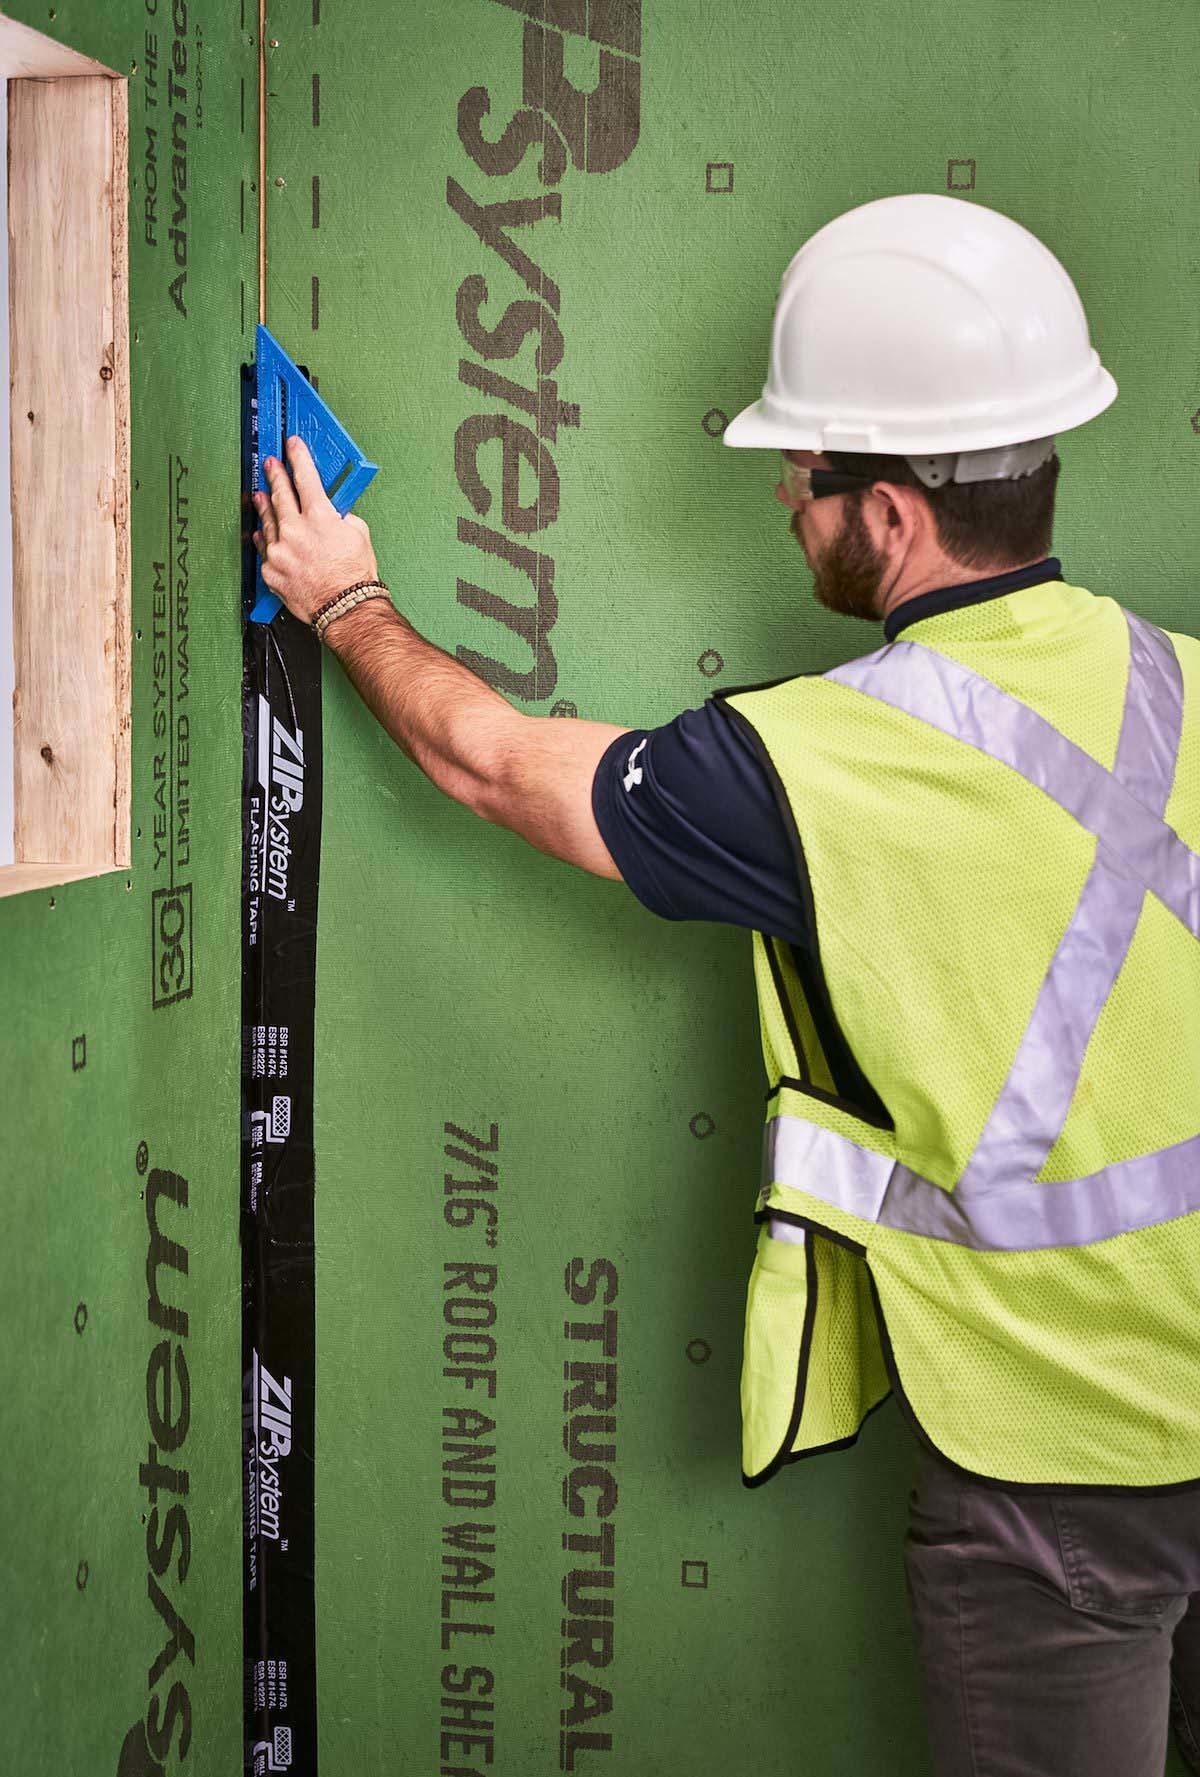
Inside corners require taping a 90-degree angle. Break sections into manageable 3-4 ft. pieces. Hold the tape at both ends of the strip and pull to form a U-shaped piece. Then, use a plastic speed square to push the tape into the corner, and be sure to roll the tape after initial application. You can also use ZIP System liquid flash for inside corners.
Flashing outside corners is especially important when using ZIP System® R-sheathing, which includes a built-in layer of exterior rigid insulation. One edge of the sheathing in an outside corner must extend to cover the exposed end of the sheathing on the adjacent wall. Be sure you leave a minimum of 1-inch surface contact on the face of the ZIP System sheathing.
Since the panel applied to the framing is thicker, one edge of the sheathing in an outside corner must be extended to cover the exposed end of the sheathing on the adjacent wall. Otherwise, you will form a V-groove that is difficult to seal. Once you achieve the appropriate 90-degree angle, use ZIP System tape to seal the corner achieving at least one inch of surface contact with the panels on either side of the seam.
T-joints or vertical seams above a window or door are water-prone areas where a lot of materials come together. Pay attention to flush fasteners in these areas, and shingle lap tape if possible. When flashing entry doors, the most important step is to protect the rough opening. With ZIP System stretch tape, you can tape the entire rough opening with minimal pieces of tape segments, creating a strong bond that will last.
For more information and to see installation tips, visit youtube.com/zipsystemsheathing.