


12 Must Know ZIP System™ Roof Assembly Install Details
4 Min Read August 1, 2022
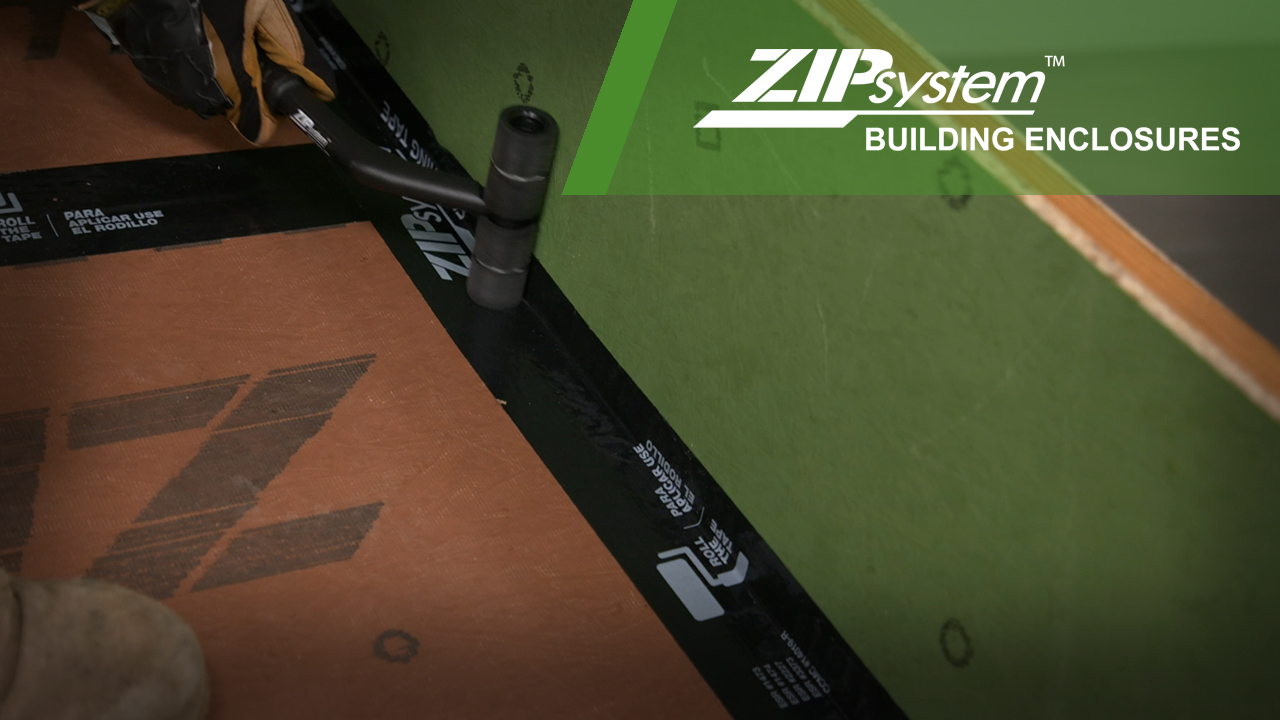
Properly flashing a roof assembly is important for minimizing the risk of water intrusion into the roof assembly and home. Below are several common roof flashing details. Always remember to roll the tape.
01. ZIP System Tape at Overlap
A basic component of ZIP System flashing tape installation is how to overlap tape on a horizontal and vertical seam. Overlap horizontal tape splices a minimum of 3 inches. At T-joints, where horizontal and vertical seams intersect, have the vertical piece a minimum of 1 inch from the edge of the horizontal tape. A good reference is roughly half the width of the tape.
02. ZIP System Sheathing at Valley Flashing with ZIP System Flashing Tape
Roof valleys are key areas for proper flashing. When using ZIP System flashing tape, tape all panel seams before flashing the valley. Overlap two strips of 3.75” ZIP System flashing tape with at least 1 inch overlapping the joint. ZIP System also has 6 inch, 9 inch, and 12 inch flashing tape widths available.
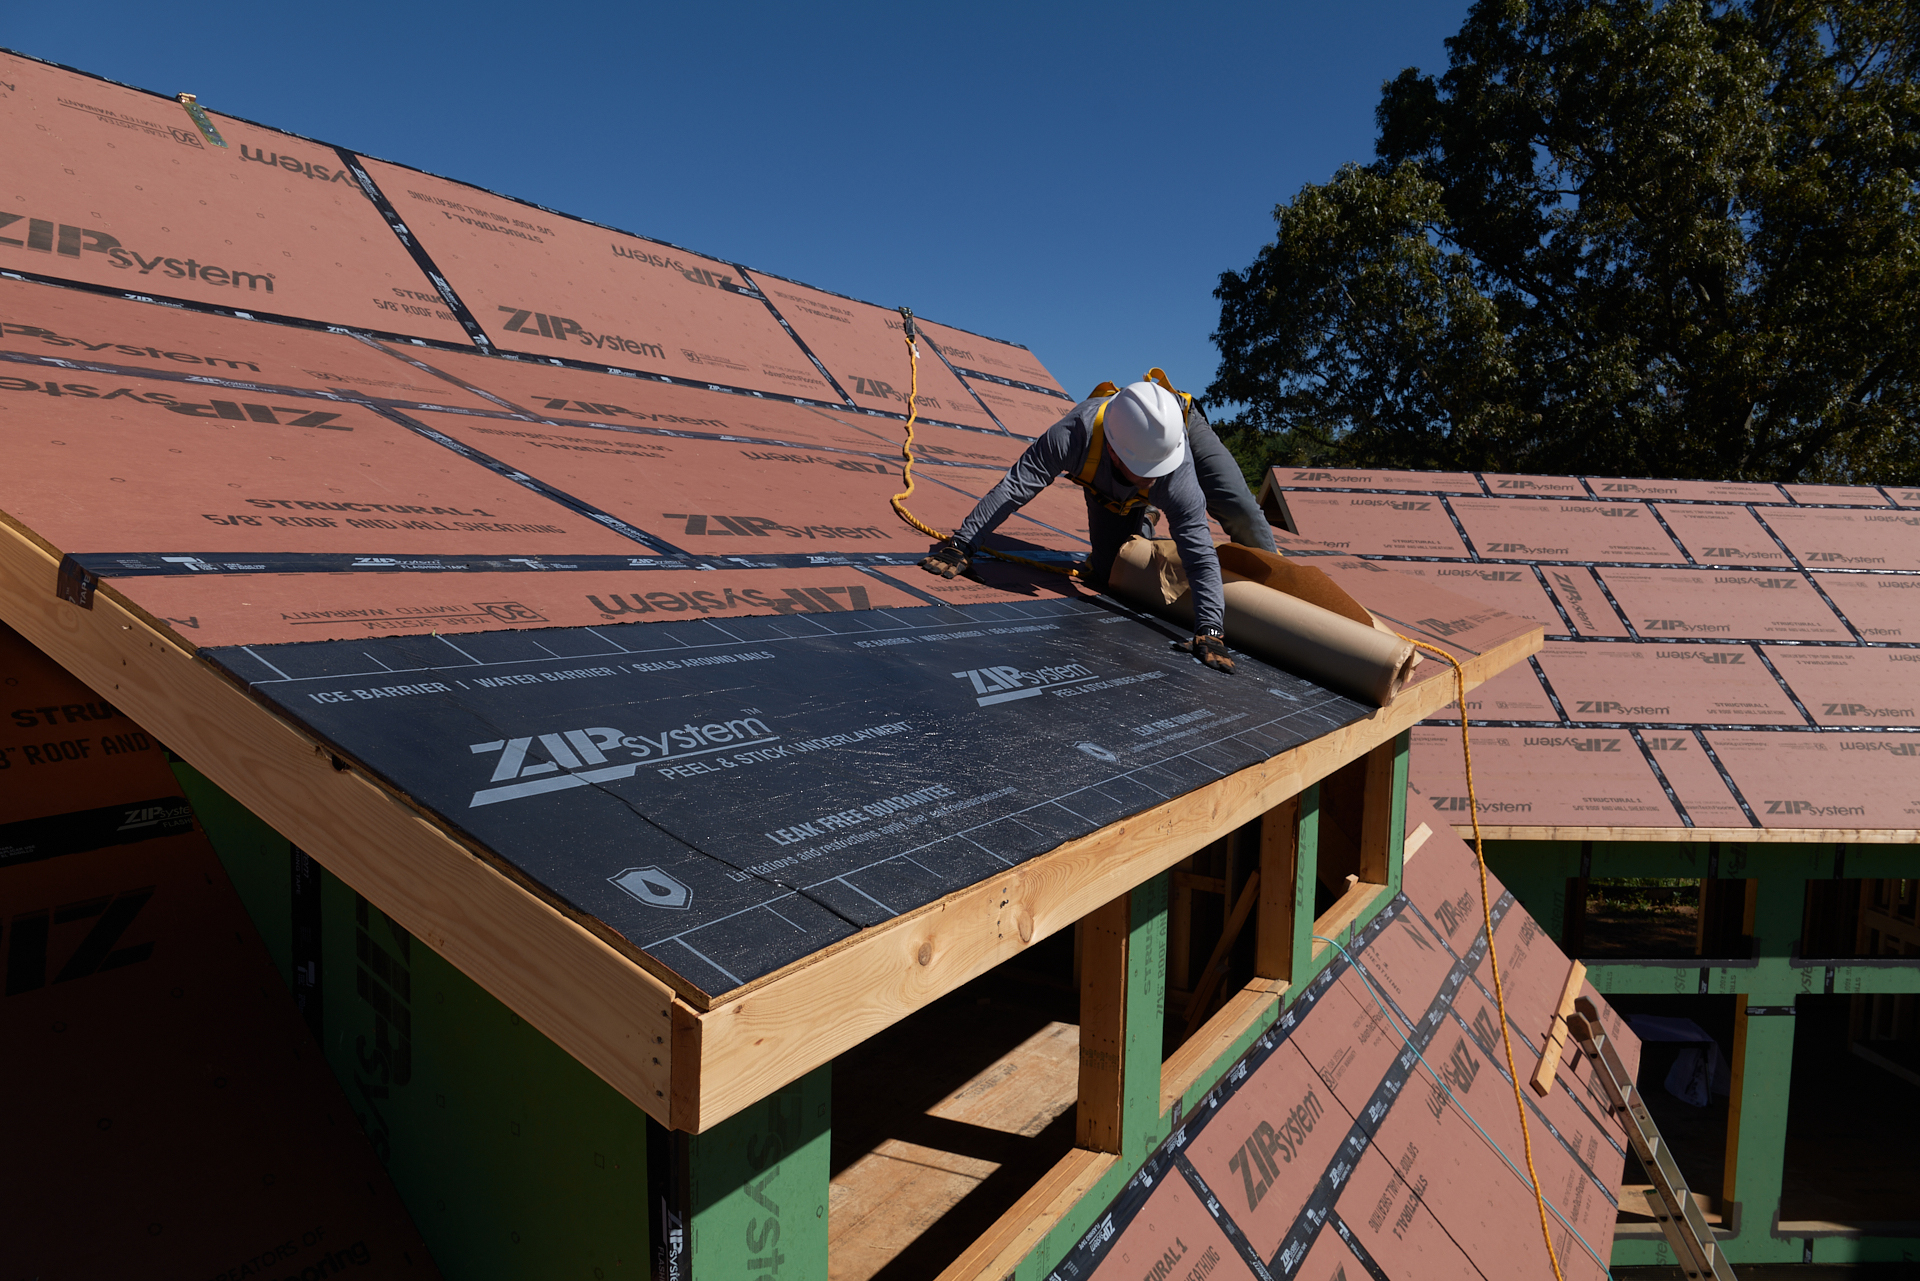
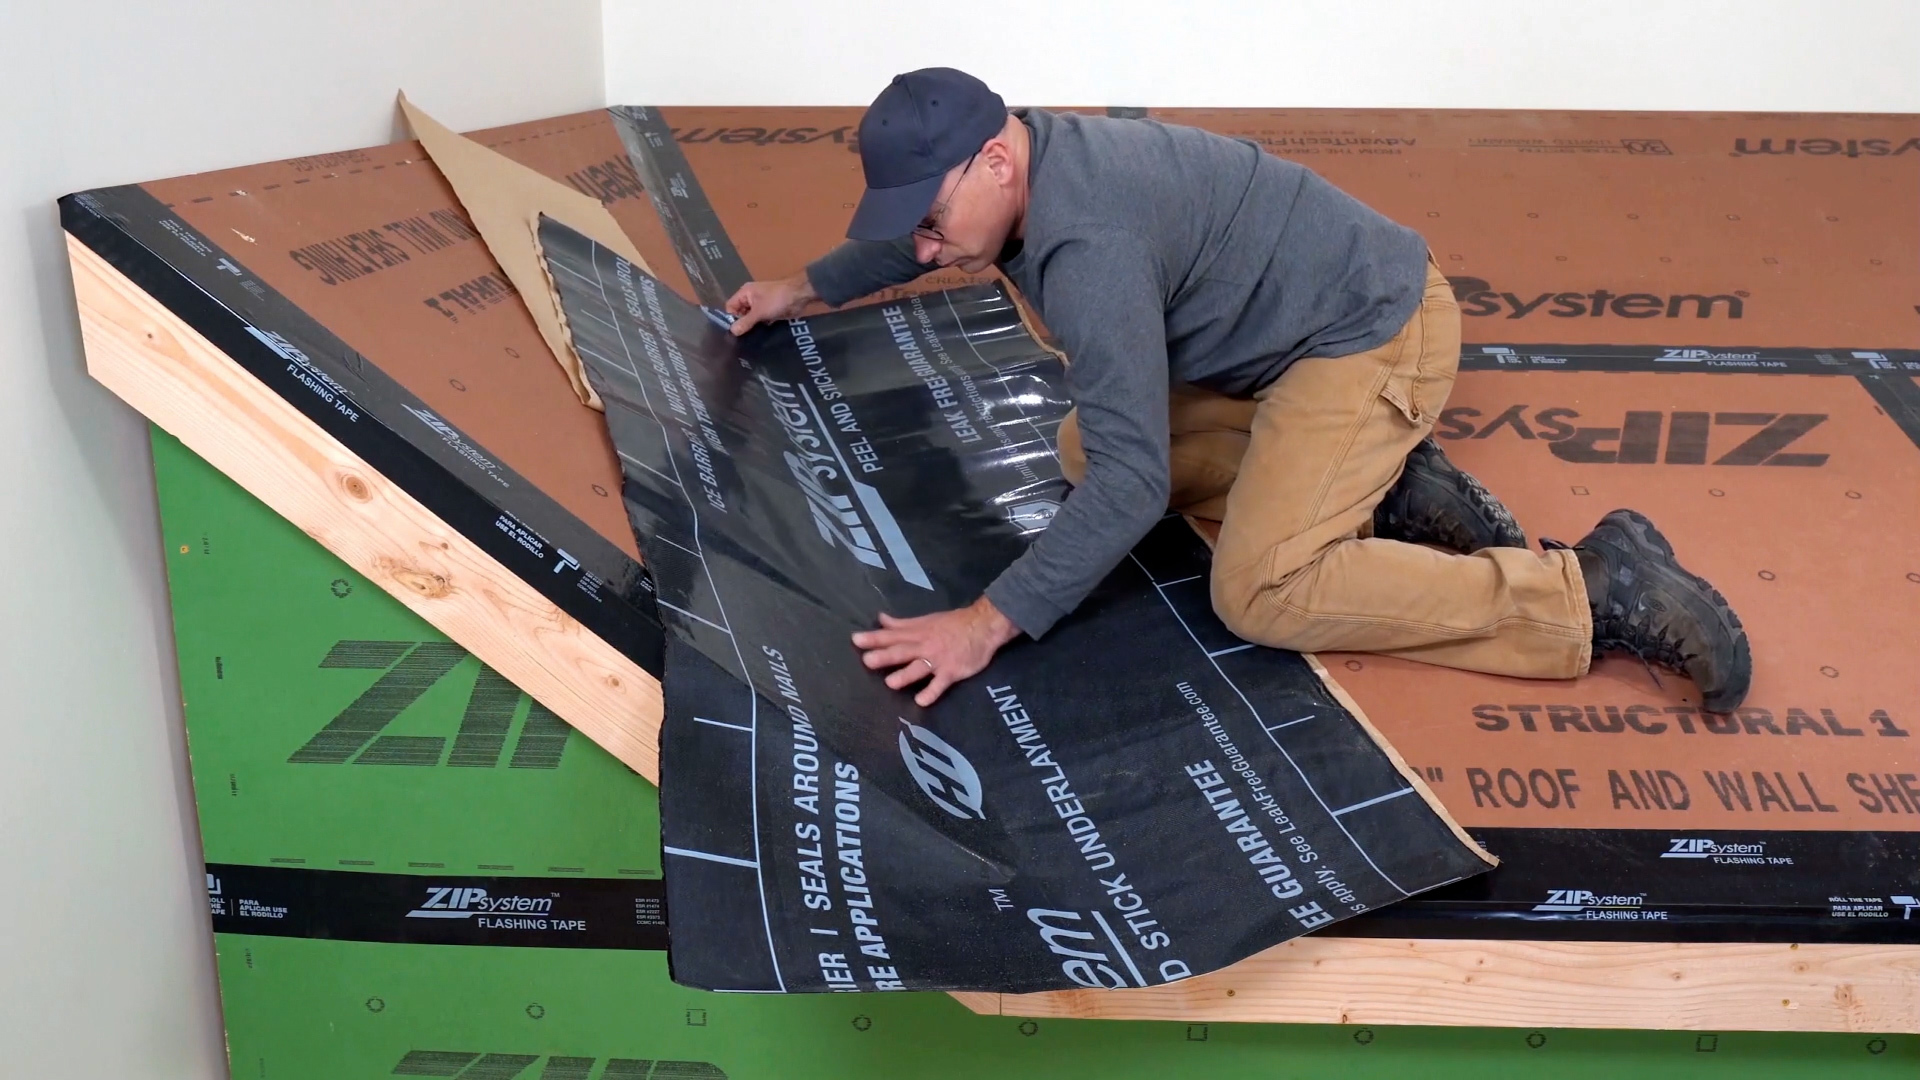
03. ZIP System Sheathing at Valley Flashing with ZIP System Peel and Stick Underlayment
When flashing a valley with ZIP System Peel and Stick Underlayment, first flash all panel seams (including the valley) with ZIP System flashing tape.
04. ZIP System Sheathing at Drip Edge
After flashing all panel seams in the ZIP System sheathing, flash the top edge of a code approved drip edge flashing to the ZIP System sheathing using ZIP System flashing tape.
05. ZIP System Sheathing at Ridge
Flash the ridge of a vented roof assembly with two strips of 3.75” wide ZIP System flashing tape or one strip of 6 inch or wider ZIP System flashing tape for temporary weather protection before the ridge vent cap is installed. Remember to cut back the flashing tape before installing the ridge vent cap.
06. ZIP System Sheathing at Step Flashing
Tape all ZIP System panel seams including any areas where roof and wall sheathing meet. Then install drip edge flashing and tape the top edge back to the ZIP System sheathing before installing the finished roof cover.
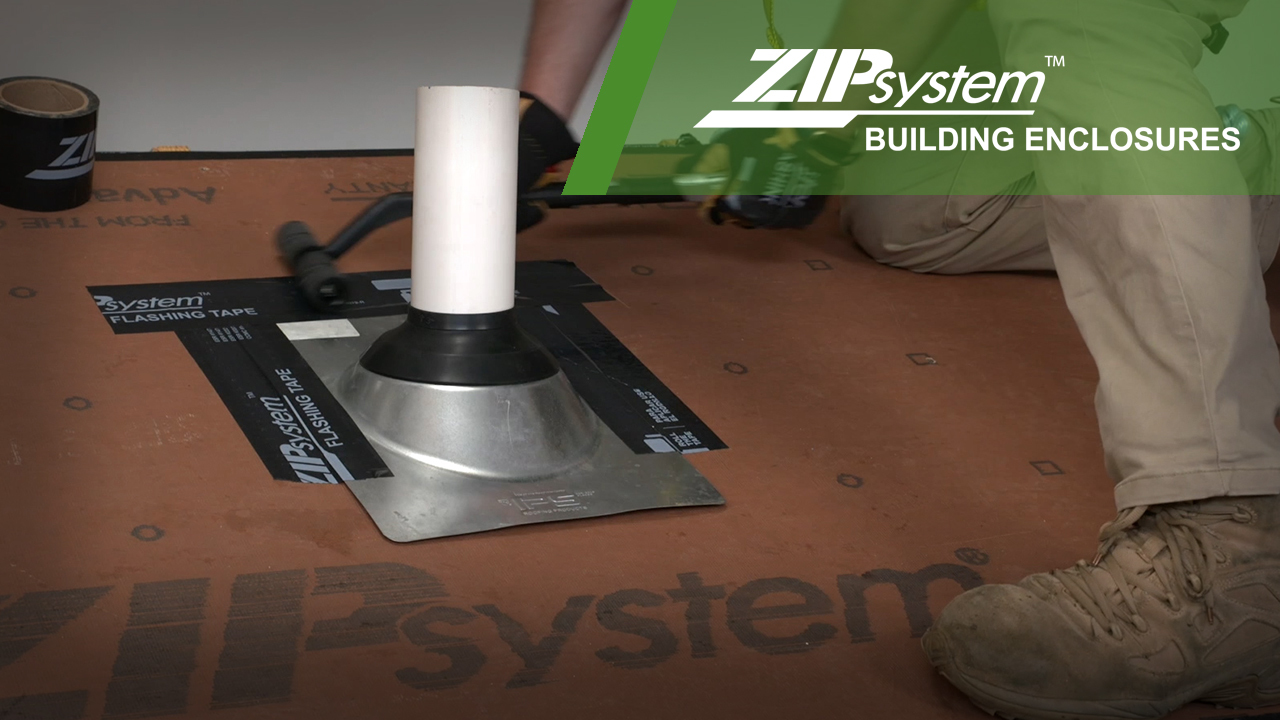
07. ZIP System Sheathing at Plumbing Vent
Plumbing vents and other roof penetrations are important areas to flash. Tape all ZIP System sheathing panel seams before installing the flashing boot designed for the penetration. Tape the sides of the flashing boot before taping the header with ZIP System flashing tape.
08. ZIP System Sheathing at Toe Boards
Safety is critical in home construction, and toe boards are a common method to help roofers operate on sloped roofs. As toe boards are removed, flash the resulting hole in the ZIP System sheathing panel with a piece of ZIP System flashing tape (minimum 1 inch around the fastener hole) or ZIP System liquid flash. Similar methods can be used to seal holes from safety harness anchors and other temporary safety measures.
09. ZIP System Sheathing Roof to ZIP System Sheathing Wall Transition
A roof meeting a wall is a common transition that can occur in multiple places depending on the design of the home. Where roofs and walls meet, be sure to flash the panel seam, and then flash the top edge of the transition flashing to the ZIP System sheathing.
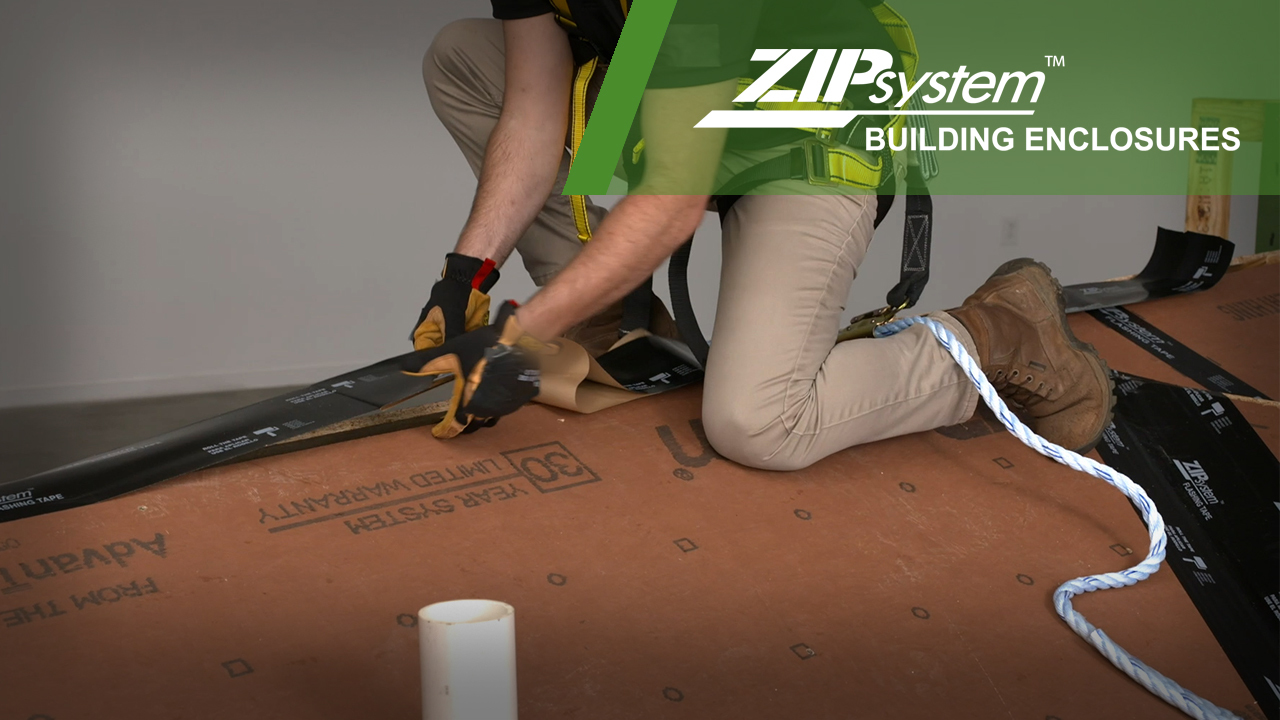
10. ZIP System Sheathing at Ice Barrier
Whether required by code or preferred by the builder or designer for an extra layer of protection, install the ice barrier membrane after taping all ZIP System sheathing panel seams. Then install a drip edge flashing.
11. ZIP System Sheathing at Chimney
While similar to flashing other roof to wall transitions, the key to flashing a chimney in a ZIP System roof assembly is flashing all the joints of the chimney cricket.
12. ZIP System® Sheathing at Hip Roof Flashing
When flashing the seams of a hip roof, install ZIP System flashing tape on all joints in the sheathing. Also flash the code approved drip edge to the sheathing with ZIP System flashing tape.
- ZIP System Tape at Overlap
- ZIP System Sheathing at Valley Flashing with ZIP System Flashing Tape
- ZIP System Sheathing at Valley Flashing with ZIP System Peel and Stick Underlayment
- ZIP System Sheathing at Drip Edge
- ZIP System Sheathing at Ridge
- ZIP System Sheathing at Step Flashing
- ZIP System Sheathing at Plumbing Vent
- ZIP System Sheathing at Toe Boards
- ZIP System Sheathing Roof to ZIP System Wall
- ZIP System Sheathing at Ice Barrier
- ZIP System Sheathing at Chimney
- ZIP System Sheathing at Hip Roof Flashing